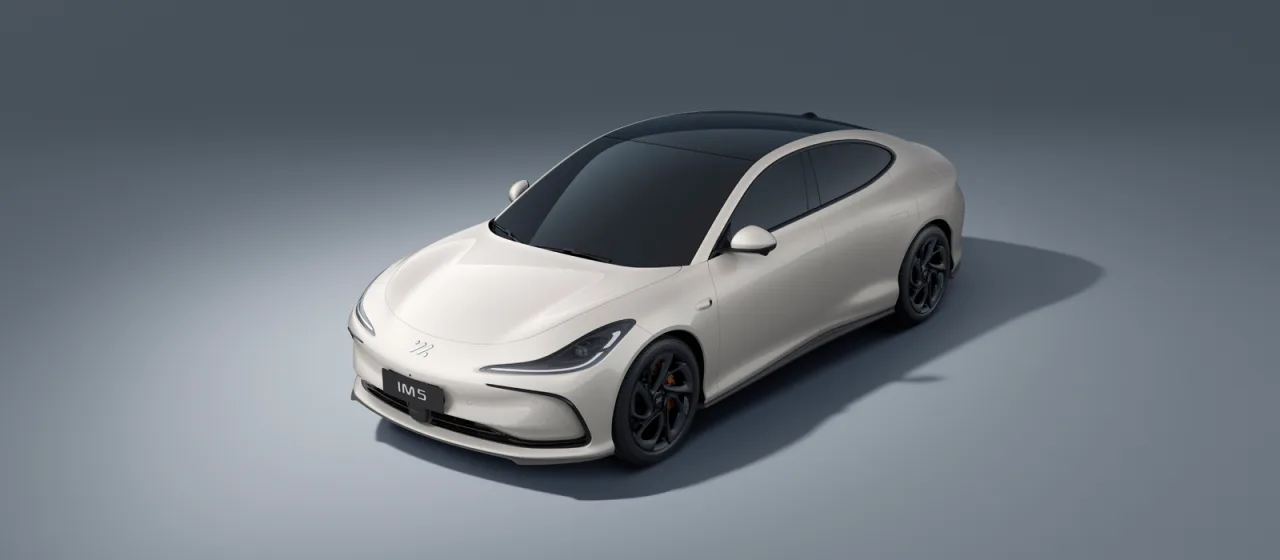
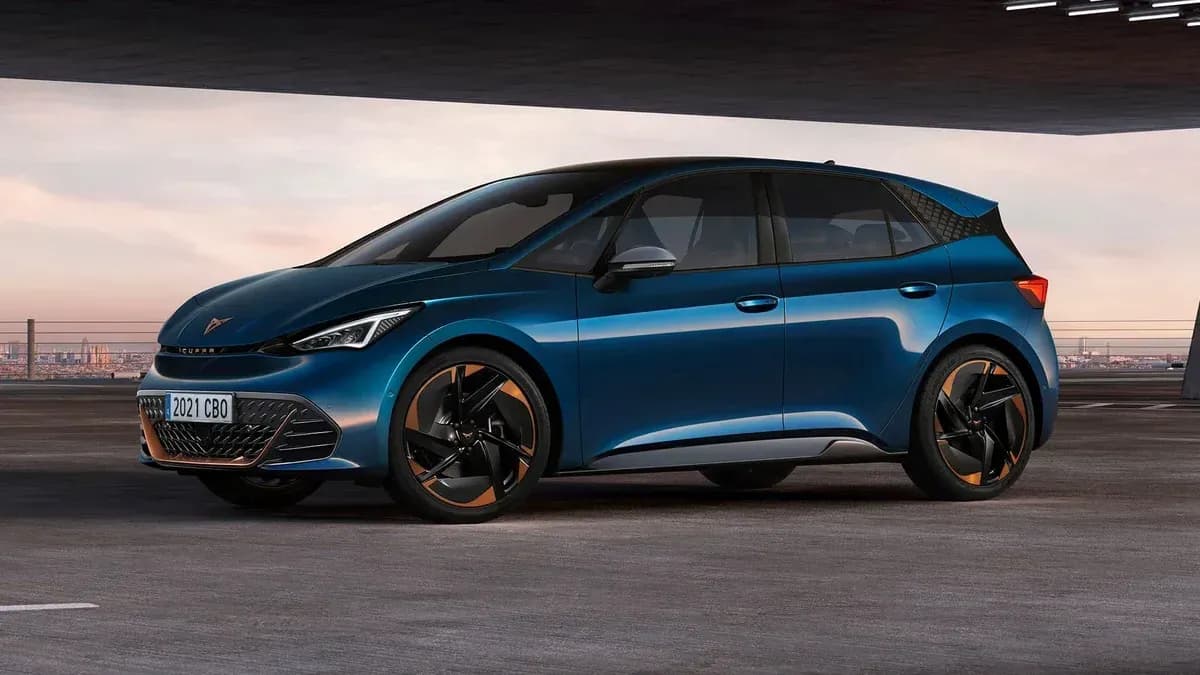
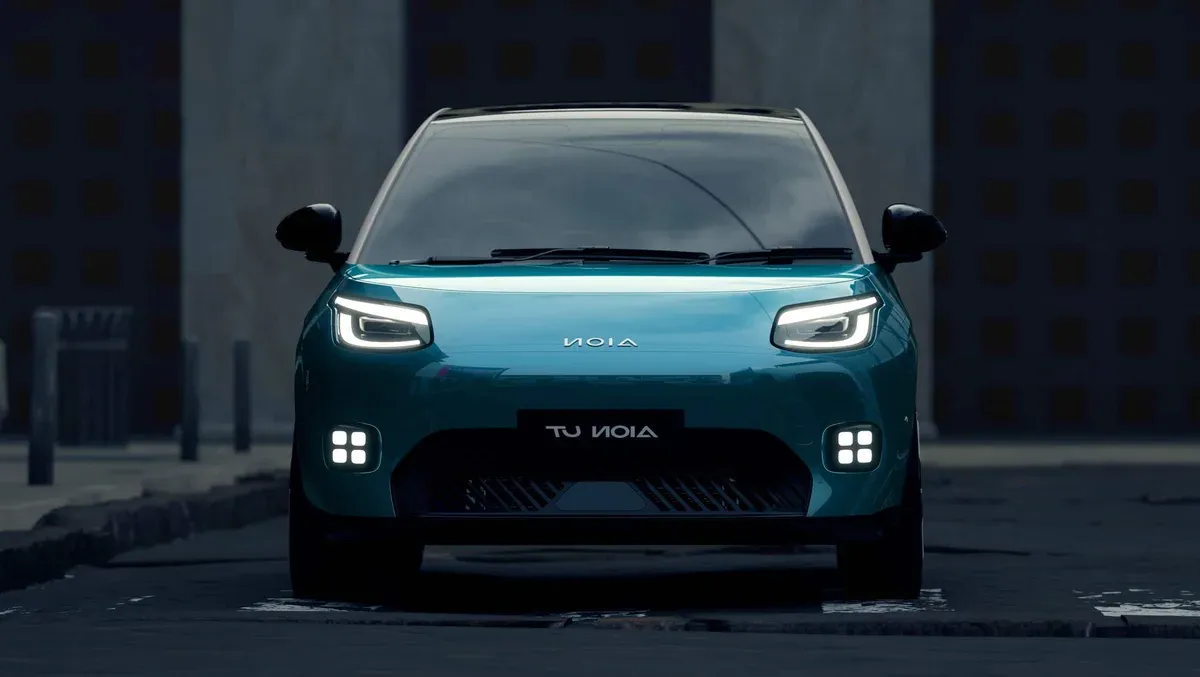
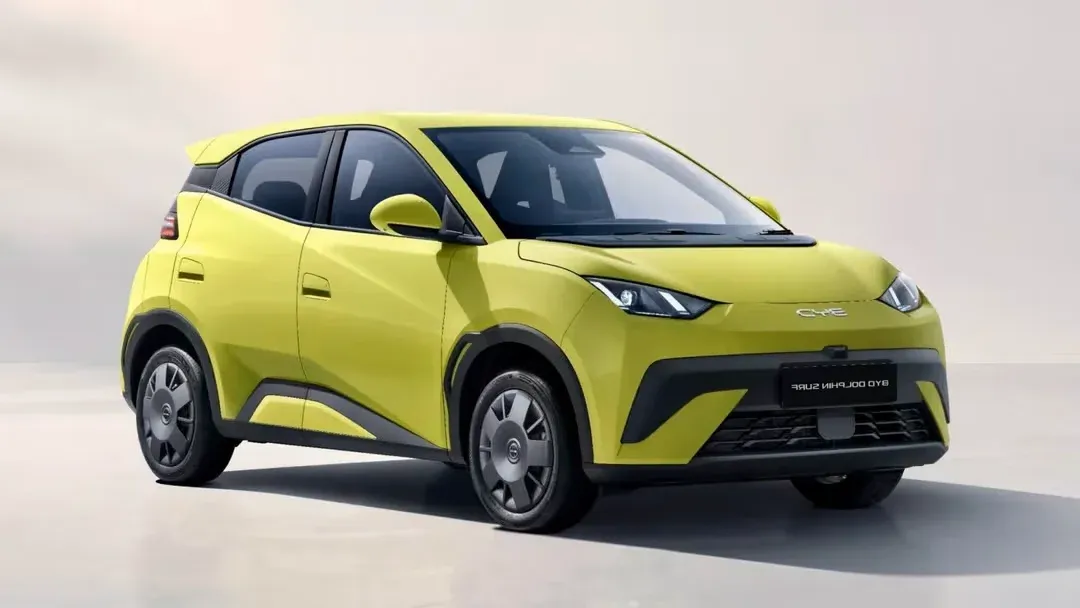
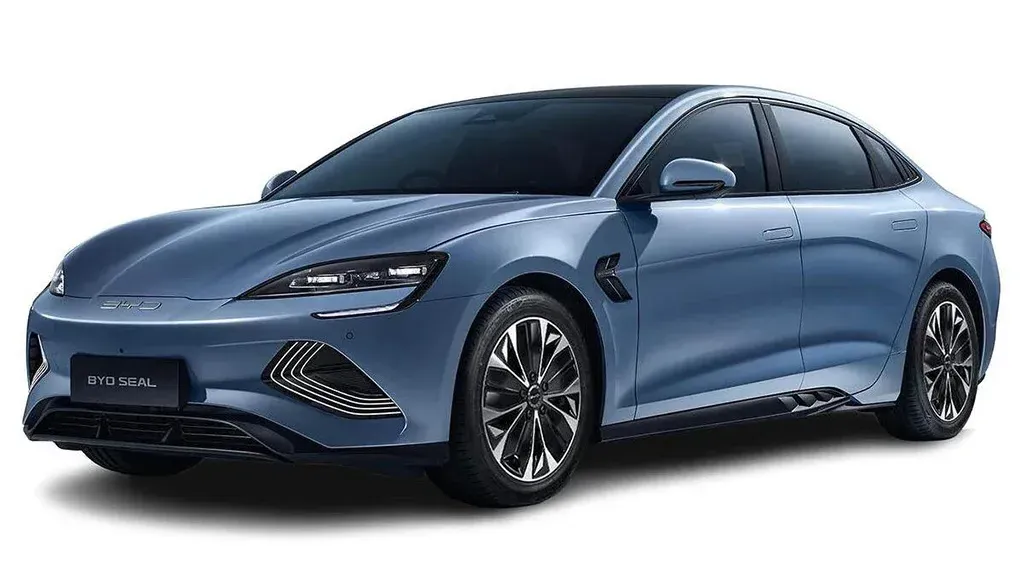
BYD Seal vs GWM ORA
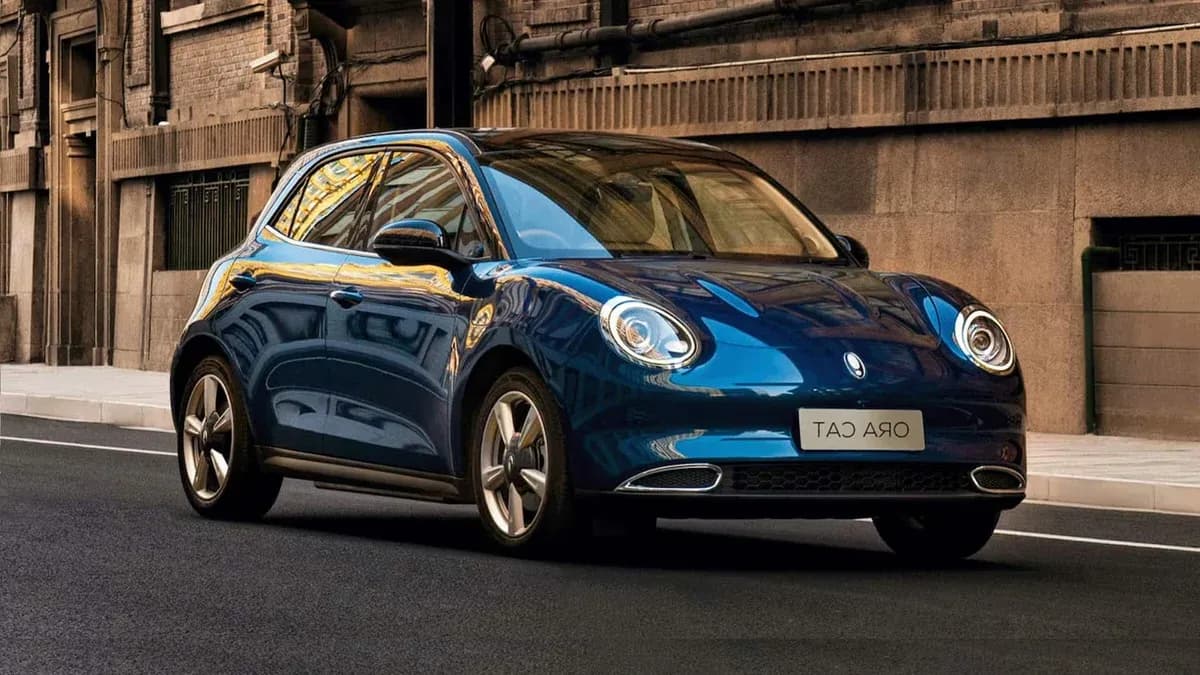
Two electric Sedans go head to head. Which EV is the better buy for Australian drivers in 2026?
Specifications and pricing correct at time of publishing. Prices are RRP before on-road costs unless stated otherwise. Always confirm with the manufacturer or dealer before purchasing.
Track the BYD Seal & GWM ORA
Get price-drop alerts on these models plus our free weekly new-car rundown. Unsubscribe anytime.
Price Breakdown
The BYD Seal starts from $46,990 before on-road costs, while the GWM ORA opens at $31,990. That makes the GWM ORA the more affordable entry point by $15,000.
Once you factor in stamp duty, registration, CTP insurance, and dealer delivery, expect to add roughly 8-12% on top of the RRP depending on your state. That puts estimated driveaway prices in the ballpark of $51,689 and $35,189 respectively.
Both models qualify for Fringe Benefit Tax (FBT) exemption, which is a significant advantage for salary-sacrificed novated leases. Depending on your tax bracket, this can save $5,000-$15,000+ per year compared to an equivalent ICE vehicle.
Safety Rundown
Both the BYD Seal and GWM ORA hold a 5-star ANCAP safety rating.
Where the two diverge is in active safety technology. The GWM ORA packs more ADAS features with 7 out of 10 key systems fitted, compared to 6 in the BYD Seal.
Both include the essentials: autonomous emergency braking, lane keep assist, adaptive cruise control, a reversing camera. Airbag count is 7 in the BYD Seal and 6 in the GWM ORA. The GWM ORA adds a 360-degree camera that the BYD Seal misses.
Charging Times
How long each takes to charge — from a household power point to ultra-rapid DC — estimated from battery size and max charge rates.
How long to charge
61.4kWh usablePublic DC
50kW charger · 0–80%
Ultra-rapid DC
up to 110kW · 0–80%
Estimates from usable battery size and the car's max charge rates (11kW AC, 110kW DC). Real times vary with temperature, starting charge, charger output and the charging curve.
How long to charge
59kWh usablePublic DC
50kW charger · 0–80%
Ultra-rapid DC
up to 80kW · 0–80%
Estimates from usable battery size and the car's max charge rates (6.6kW AC, 80kW DC). Real times vary with temperature, starting charge, charger output and the charging curve.
Feature Showdown
The BYD Seal features a 15.6-inch touchscreen paired with a 10.3-inch digital dash, while the GWM ORA gets a 10.3-inch display and 10.3-inch instruments. Apple CarPlay and Android Auto are standard across both.
The BYD Seal stands out with power tailgate and Dynaudio audio that you will not find on the GWM ORA. Which feature set matters more depends on your daily routine and priorities.
Drivetrain
The BYD Seal uses a Electric producing 150kW and 310Nm of torque, sent through a auto to a RWD layout. It covers the 0-100km/h sprint in 7.6 seconds.
The GWM ORA responds with a Electric making 126kW and 250Nm, paired to a auto driving the front wheels. It gets to 100km/h in 8.4 seconds.
The BYD Seal has the clear power advantage at 150kW vs 126kW. In the real-world sprint, the BYD Seal is 0.8s quicker. For most buyers, the way each car feels day-to-day matters more than outright acceleration.
Battery: 61.4kWh (BYD Seal) vs 57.7kWh (GWM ORA), giving WLTP ranges of 460km and 347km. DC fast charging peaks at 110kW (BYD Seal) vs 80kW (GWM ORA).
Space & Comfort
The BYD Seal measures 4,800mm long on a 2,920mm wheelbase, 565mm longer than the GWM ORA at 4,235mm (2,650mm wheelbase). The longer wheelbase on the BYD Seal generally means more rear legroom.
Boot space is 400L in the BYD Seal and 228L in the GWM ORA, giving the BYD Seal a 172L advantage.
0Turning Circle
Kerb-to-kerb diameter. Smaller turns easier in tight carparks and U-turns.
11.2m to 11.4m
Based on 11.4m turning circle:
- U-turn on standard street (7m+ wide)
- Standard parking bay
- Tight carparks
- Narrow laneways
Based on 11.2m turning circle:
- U-turn on standard street (7m+ wide)
- Standard parking bay
- Tight carparks
- Narrow laneways
Turning circle ratings
Compare U-turns side by side
Turning Circle · U-turn compare
kerb-to-kerb, 2 cars0 of 2 clear a 7.0 m street in one sweep
Green cars complete the U-turn; amber need a 3-point turn. Drag the slider to test tighter streets.
Standard widths: AU local streets ~5.5–7 m; main roads ~9–12 m.
True Cost to Own
Running cost data is not yet available for both models. We will update when figures are confirmed.
Warranty: 6 years / 150,000km (BYD Seal) vs 7 years / 999,999km (GWM ORA). The GWM ORA has longer coverage.
Who Should Buy Which?
Buy the BYD Seal if: You prioritise performance, need more boot space, or prefer BYD's approach to design and ownership experience.
Buy the GWM ORA if: You want the lower entry price, value a longer warranty, or prefer GWM's approach to design and ownership experience.
The Verdict
The BYD Seal takes 8 of 10 key spec categories. If boot space matters, the BYD Seal has a clear edge. The GWM ORA adds peace of mind with a longer 7-year warranty. The best pick depends on what you value most. Explore the full specs for each model below.
Common questions
Which is cheapest, BYD Seal and GWM ORA?
The GWM ORA is the cheapest at $31,990 before on-road costs. That undercuts the BYD Seal by $15,000.
Which has the longest driving range?
The BYD Seal has the most range at 460km (WLTP).
Which charges fastest?
The BYD Seal accepts the highest DC charging at up to 110kW.
Which is safest?
They are evenly matched — BYD Seal and GWM ORA all hold a 5-star ANCAP rating. Compare the active-safety features above to separate them.
Which has the most boot space?
The BYD Seal has the largest boot at 400L.
Which can tow the most?
The BYD Seal has the highest braked towing capacity at 1,000kg.
Which has the best warranty?
The GWM ORA has the longest warranty at 7 years / Unlimited.
Which is the most powerful?
The BYD Seal makes the most power at 150kW. The BYD Seal is quickest to 100km/h in 7.6s.
Track the cars you're comparing
Sign up free for price-drop alerts on the models in this comparison, plus our weekly new-car rundown covering launches, deals and reviews. No spam, unsubscribe anytime.
By subscribing, you agree to receive marketing emails. You can unsubscribe at any time. View our Privacy Policy.
Disclaimer: All information in this comparison was believed to be correct at the time of publishing (20 April 2026). Prices are manufacturer recommended retail prices (RRP) and may vary by state, dealer, and options. Driveaway costs include estimated on-road costs for Victoria. Fuel economy figures are WLTP/ADR combined cycle. Specifications can change without notice. Always verify with the manufacturer before making a purchase decision. CarSorted does not accept payment for recommendations.
Auto-generated from CarSorted's specification data · 20 April 2026
Comments (0)
Sign in to join the conversation
No comments yet. Be the first!